Page 1 of 1
Building MiSTer on a budget!
Posted: Sat Feb 19, 2022 2:23 pm
by peke
Hi to all, yesterday I recieved my DE10 nano, only the board, I will buy 128mb ram soon, but some parts have to wait (IO Board, usb hub, housing, etc).
Somebody at the forum told me I can use a direct video adapter so I can plug mister to a crt with ypbpr, I allready have the vga to ypbpr cable.
here is the stuff I can find cheap on my country.

- Captura-de-Pantalla-2022-02-19-a-las-11.09.59.png (494.52 KiB) Viewed 3795 times

- Captura-de-Pantalla-2022-02-19-a-las-11.12.10.png (307.14 KiB) Viewed 3795 times

- Captura-de-Pantalla-2022-02-19-a-las-11.13.11.png (563.57 KiB) Viewed 3795 times
1) the hdmi to vga cable got audio output, will it work?, Is someone using this? I have to mod the cable or is an optimal solution for connecting to a consumer crt?
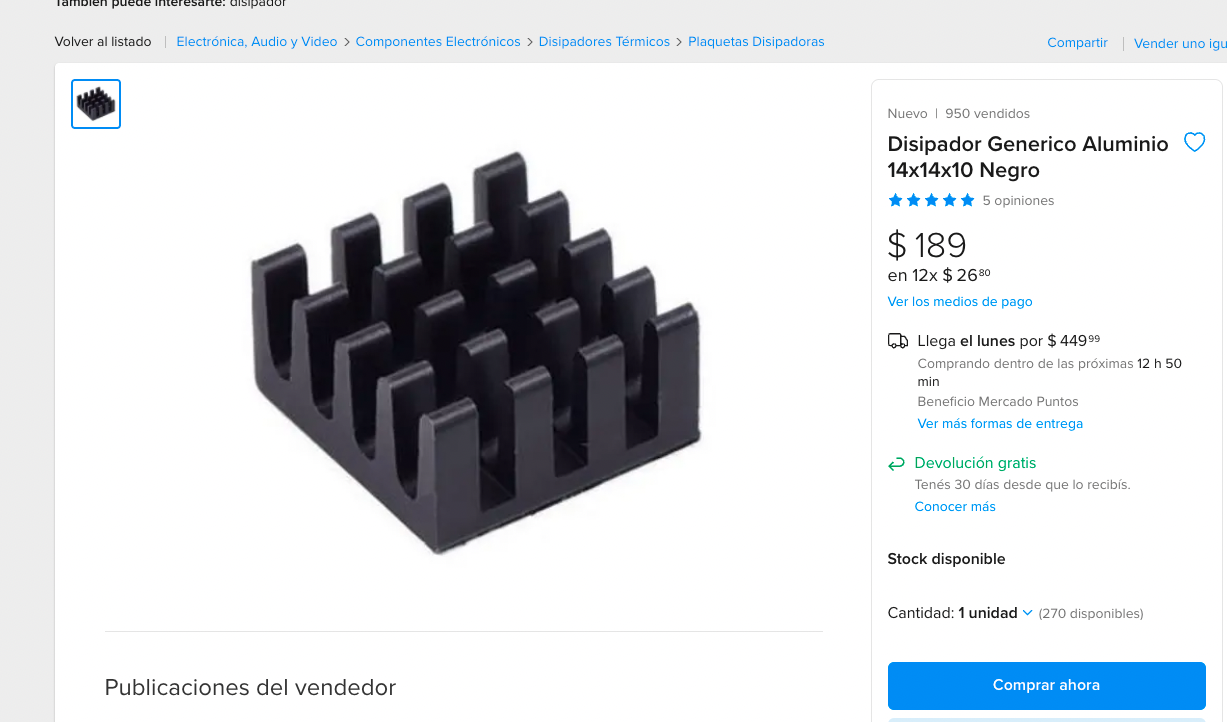
2) I coudn´t find heatsink 20x20x10, almost are 14x14 for raspberri, maybe I can search a little bit more, but in the future I want to have an IO board, how about the double sided tape, is easy to take it off?
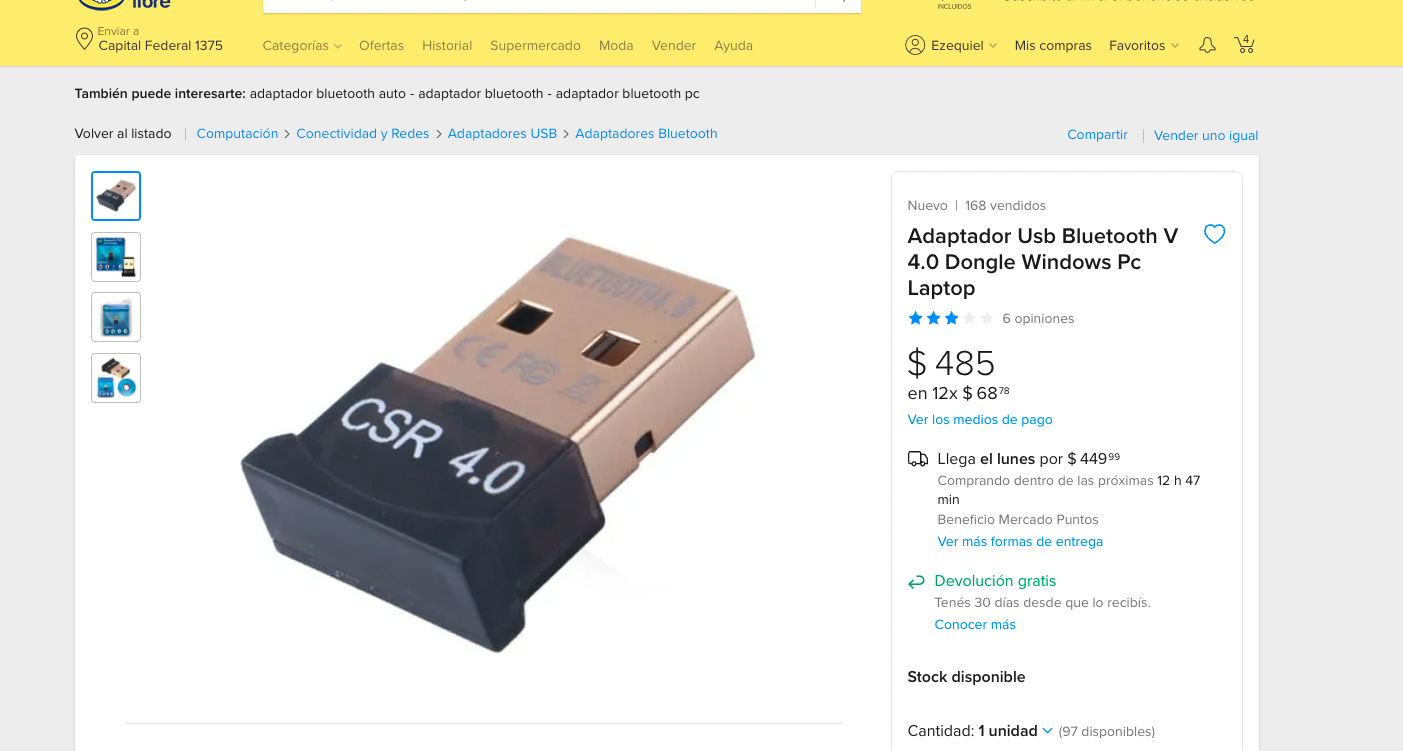
3) I hope that bluethoot dongle work, there are v 5.0 too
thanks to all
Re: Building MiSTer on a budget!
Posted: Sat Feb 19, 2022 3:00 pm
by akeley
About Direct Video dongles, there is no 100% guarantee any will work because manufacturers sometimes change them, possibly even inside the same-looking casing. It should be ok though (you can also do a search for "AG6200" or "AG6201", these chips are proven to work and sometimes are listed in the dongle's description).
Also, while it works fine with RGB, and possibly for YPbPr too, you might need to make some modifications, best read this page:
https://github.com/MiSTer-devel/Main_Mi ... rect-Video
Re: Building MiSTer on a budget!
Posted: Sat Feb 19, 2022 3:05 pm
by FoxbatStargazer
If you are using a VGA to ypbpr breakout cable (i.e. not a transcoder box), and you plug that into Mister's HDMI with and HDMI to VGA adapter, it will *not* work on your TV because you have no sync signal. While you can get the colors right by flipping the ypbpr setting in mister.ini to 1, the H/V sync from the VGA is just dropped, and the Mister has no way to add the needed Sync on Green/Luma signal to its HDMI output. If you're handy with simple circuits its supposedly not hard to build one and the schematics are out there specifically for Mister. The analog I/O board also takes care of this for you with its own SoG switch.
Re: Building MiSTer on a budget!
Posted: Sun Feb 20, 2022 8:01 am
by twinkles76
Hi, if you pay for shipping i can send you an io board and a heatsink with tape.
Re: Building MiSTer on a budget!
Posted: Sun Feb 20, 2022 10:32 am
by pbsk8
I bought the parts from two sellers from ali express
way cheaper than those made kits
Re: Building MiSTer on a budget!
Posted: Sun Feb 20, 2022 3:07 pm
by grizzly
pbsk8 wrote: ↑Sun Feb 20, 2022 10:32 am
I bought the parts from two sellers from ali express
way cheaper than those made kits
Also a much higher chance that something will not work right!
There are plenty of treads her where ali/ebay bought stuff has not worked at all or where not working 100% or causing some weird behavior that was pretty much impossible to fault find.
And IF something happens the reputable mister sellers are good to deal with and they often send out new stuff fast.
Ali/ebay sellers you probably have to fight to get money back and then have to buy from another place.
Re: Building MiSTer on a budget!
Posted: Sun Feb 20, 2022 3:45 pm
by FoxbatStargazer
People have specifically had issues with strong purple tint on component output from aliexpress I/O boards. So those looking to use component are exactly who should not be buying from there!
Re: Building MiSTer on a budget!
Posted: Mon Apr 11, 2022 1:05 pm
by peke
Stuart, seems I can´t reach you with pm, it get stuck on outbox, items arrive and testing!, all perfect, thank you so much!!!, hope you read this and my pm arrives!!!
ezequiel
Re: Building MiSTer on a budget!
Posted: Mon Apr 11, 2022 9:17 pm
by CRTified
For me, building my MiSTer on a budget meant:
* going without the RAM module for the first month, until I could afford it - played lots of GBA + TG16 + Genesis games that month!
* not bothering with any other kind of add-on board - to someone with no money they are just an expensive commoditisation of simple circuitry and port extenders
* soldering an old USB extension cable into an OTG cable (basically involves joining two pins), and connecting an old hub to that
* using a 2.5A power supply I already had
* using a heatsink I already had, that doesn't 100% fit, but is quite enough
* neatly cutting and sanding two bits of plywood to attach as top and bottom protectors, a form of rudimentary 'case'
I realise this is somewhat above-and-beyond the OP's vision of a budget build - which to me sounds more like a standard all-bells-and-whistles build, just with the individual purchases deferred until ready (which is fine!). But I wanted to add here, what a budget MiSTer build meant for me.
Re: Building MiSTer on a budget!
Posted: Tue Apr 12, 2022 7:11 am
by Bren McGuire
What are the dimensions of the heatsink?
Re: Building MiSTer on a budget!
Posted: Sun Apr 17, 2022 10:05 pm
by CRTified
Bren McGuire wrote: ↑Tue Apr 12, 2022 7:11 am
What are the dimensions of the heatsink?
Ideal heatsink dimension is 22 x 22mm. Mine is about 20 x 16. So it mostly fits on one dimension. On the 2 sides closest to the GPIO blocks, there are naked edges of a couple mm.
I gave the heatsink a thin layer of thermal compound, reserving two tiny corners for a tiny (~1mm) dab of superglue. I aligned the heatsink so the fins get airflow (that is, fins aligned parallel to the GPIO blocks).
A low powered (0.1-0.2A) 12V 80mm fan is mounted over a circular hole cut into the wooden top cover, and soldered directly to the board's 5V input. The fan I chose from my old pile runs well under that condition. Very quiet but nice airflow for such a small system.
"In my vague estimation", this free-from-my-pile setup provides ample cooling to the system - and my system does seem to run very well - but I am not a scientist and have not run lab tests on it!

Quasi-professionally speaking, I'd recommend to just get the recommended/ideal heatsink size and save your worries. But for people looking to pinch a penny (or who have no choice), the options can surely be stretched a little as I have. At own risk.
Re: Building MiSTer on a budget!
Posted: Fri Apr 22, 2022 1:51 pm
by Bren McGuire
CRTified wrote: ↑Sun Apr 17, 2022 10:05 pm
Ideal heatsink dimension is 22 x 22mm.
OK, I'll go with a 22x22. Do you think I can get away with a 10mm height (I do intend to use a I/O board)?
CRTified wrote: ↑Sun Apr 17, 2022 10:05 pm
I gave the heatsink a thin layer of thermal compound, reserving two tiny corners for a tiny (~1mm) dab of superglue. I aligned the heatsink so the fins get airflow (that is, fins aligned parallel to the GPIO blocks).
I'd be afraid to use superglue, no matter how little. I once ruined a Raspberry Pi while trying to remove a heatsink that was too well attached, it stripped the first layer of the chip.